How to Create Educational Toys: A Step-by-Step Guide
Educational Toy Design Planner
Design the perfect learning tool. Select the target age group and primary learning goal to receive tailored material recommendations, safety checks, and engagement strategies.
Recommended Materials
Safety Checklist
Engagement Strategy
Ever watched a toddler ignore a $50 plastic gadget in favor of a cardboard box and a wooden spoon? It’s frustrating, but it’s also a clue. Kids don’t just want entertainment; they crave interaction that teaches them how the world works. That’s where educational toys come in. Unlike passive playthings, these tools are designed to spark curiosity, build skills, and solve problems. But you don’t need a degree in industrial design or a factory budget to make one. Whether you’re a parent looking for a specific learning aid, a teacher wanting custom classroom props, or an aspiring entrepreneur with a great idea, creating your own educational toy is surprisingly accessible.
The secret isn’t complexity. It’s intentionality. A successful educational toy has a clear goal-like teaching color matching or basic physics-and the design supports that goal without getting in the way. This guide walks you through the process of turning a rough concept into a tangible, engaging learning tool. We’ll cover everything from understanding developmental stages to choosing safe materials and testing your prototype.
Understanding the Learning Goal
Before you pick up a glue gun or sketch a design, ask yourself: What exactly should this toy teach? "Being smart" isn't a learning goal. Specificity is key. Are you targeting fine motor skills, like threading beads? Logical reasoning, like sorting shapes by size? Or perhaps social-emotional learning, like role-playing empathy?
Most effective educational toys align with specific developmental milestones. For infants (0-12 months), the focus is on sensory exploration-textures, sounds, and cause-and-effect. Toddlers (1-3 years) benefit from problem-solving basics, such as shape sorters or simple puzzles. Preschoolers (3-5 years) start grasping abstract concepts like numbers, letters, and patterns. School-age children (6+) engage with complex systems, strategy, and creativity.
If you skip this step, you risk building something cute but useless. A puzzle meant for a 2-year-old shouldn’t require reading skills. A math game for a 7-year-old shouldn’t be so abstract that it feels like homework. Define the skill first, then let the design follow.
Choosing Materials That Matter
Materials do more than hold the toy together; they contribute to the learning experience. Wood offers weight and texture, helping kids understand mass and friction. Plastic is lightweight and easy to clean, ideal for bath-time science experiments. Fabric provides softness and flexibility, perfect for quiet time or travel.
Safety is non-negotiable. If the toy is for children under three, avoid small parts that pose choking hazards. The U.S. Consumer Product Safety Commission sets strict guidelines here: any part that fits inside a toilet paper tube (about 1.25 inches in diameter) is a risk for toddlers. Use non-toxic paints and finishes. Water-based acrylics are generally safer than oil-based ones, which can contain volatile organic compounds (VOCs).
| Material | Best For | Safety Note |
|---|---|---|
| Wood | Building blocks, puzzles, balance scales | Sand edges smooth; use non-toxic sealant |
| Felt/Fabric | Matching games, sensory boards | Washable; ensure no loose threads |
| Recycled Cardboard | Structural bases, masks, boxes | Avoid glossy coatings; tape securely |
| Silicone | Moldable shapes, baking-themed toys | Food-grade only; heat resistant |
Don’t underestimate the power of recycled materials. A shoebox turned into a post office slot teaches literacy and social roles. Egg cartons become number counters. Using household items lowers costs and shows kids that learning tools can be made anywhere, not just bought at a store.
Designing for Engagement
Here’s the hard truth: if a toy is too hard, kids quit. If it’s too easy, they get bored. The sweet spot lies in what psychologists call the "Zone of Proximal Development." You want the task to be slightly beyond their current ability, requiring a bit of effort or help to succeed. This creates a sense of achievement when they finally crack the code.
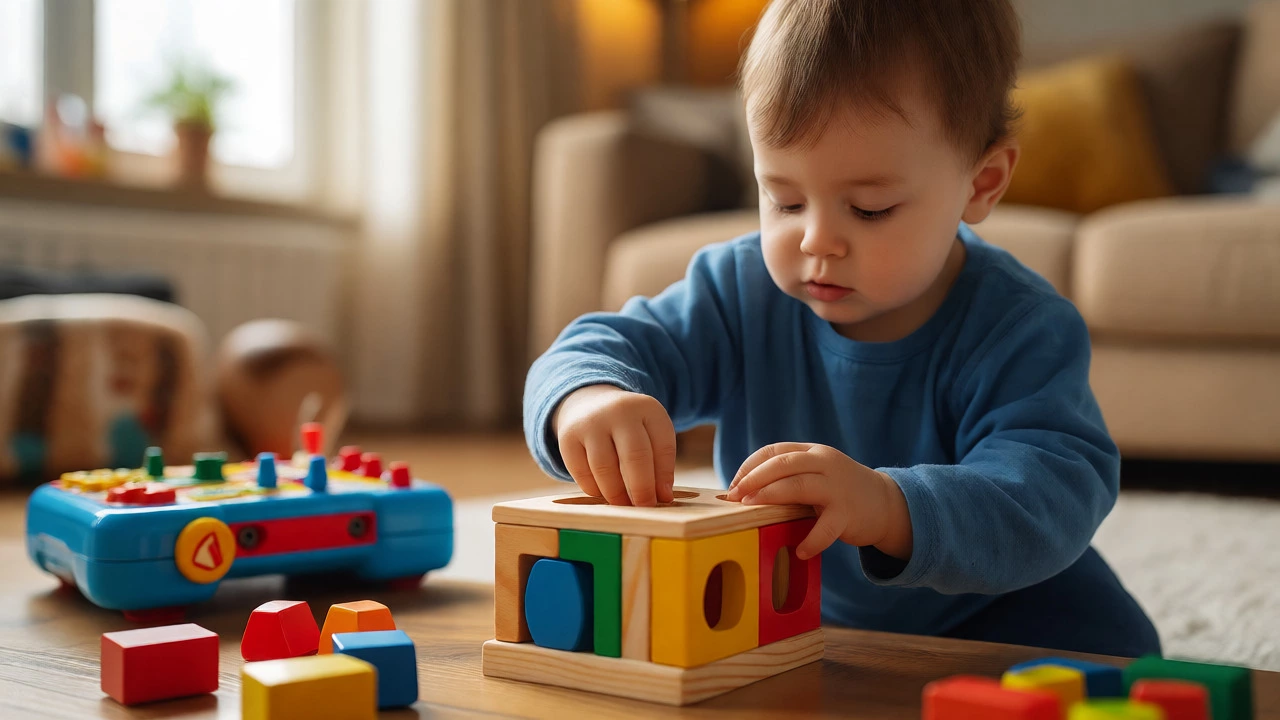
Incorporate feedback loops. When a child places a square peg in a square hole, the physical fit confirms success. In digital apps, sound effects or animations provide this confirmation. In physical toys, think about tactile or visual cues. Maybe the correct piece snaps into place, or the colors match perfectly. Immediate feedback keeps motivation high.
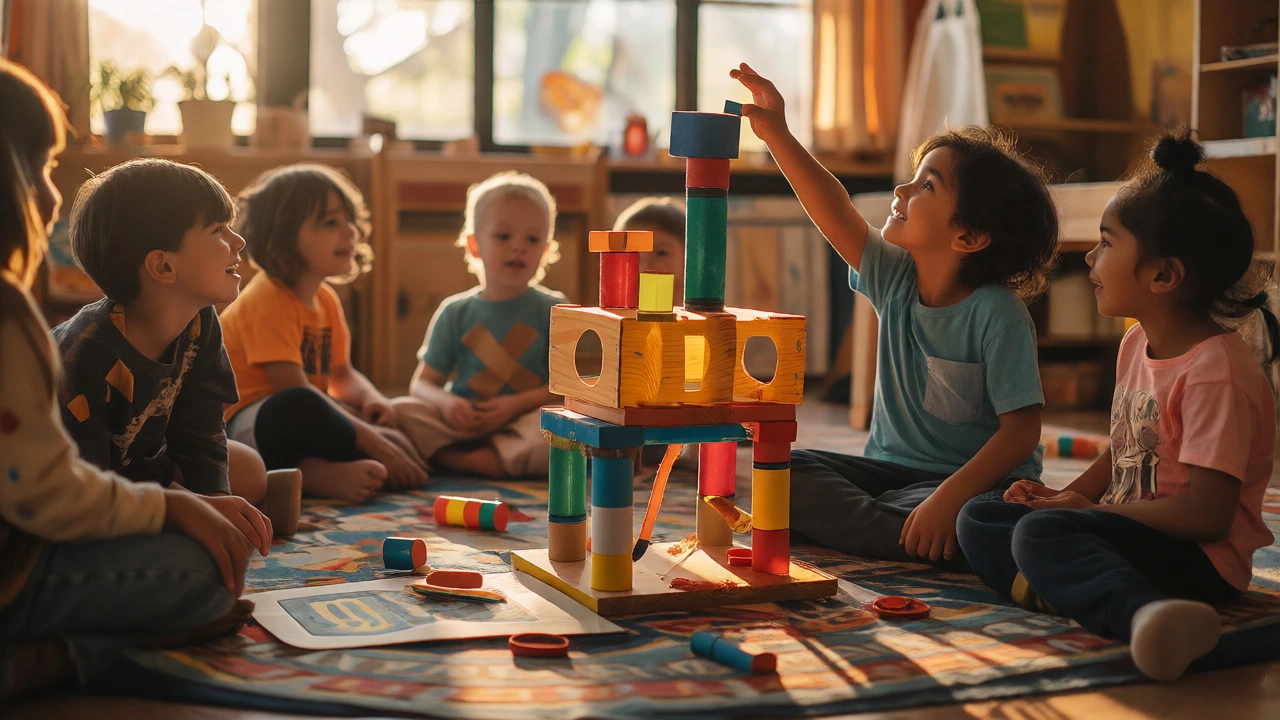
Open-endedness is another powerful tool. A set of geometric blocks doesn’t have one right answer. Kids can build towers, bridges, or abstract art. This encourages creativity alongside logic. Compare this to a worksheet-style toy where there’s only one correct configuration. While worksheets teach precision, open-ended toys teach innovation. Balance both depending on your goal.
Prototyping and Testing
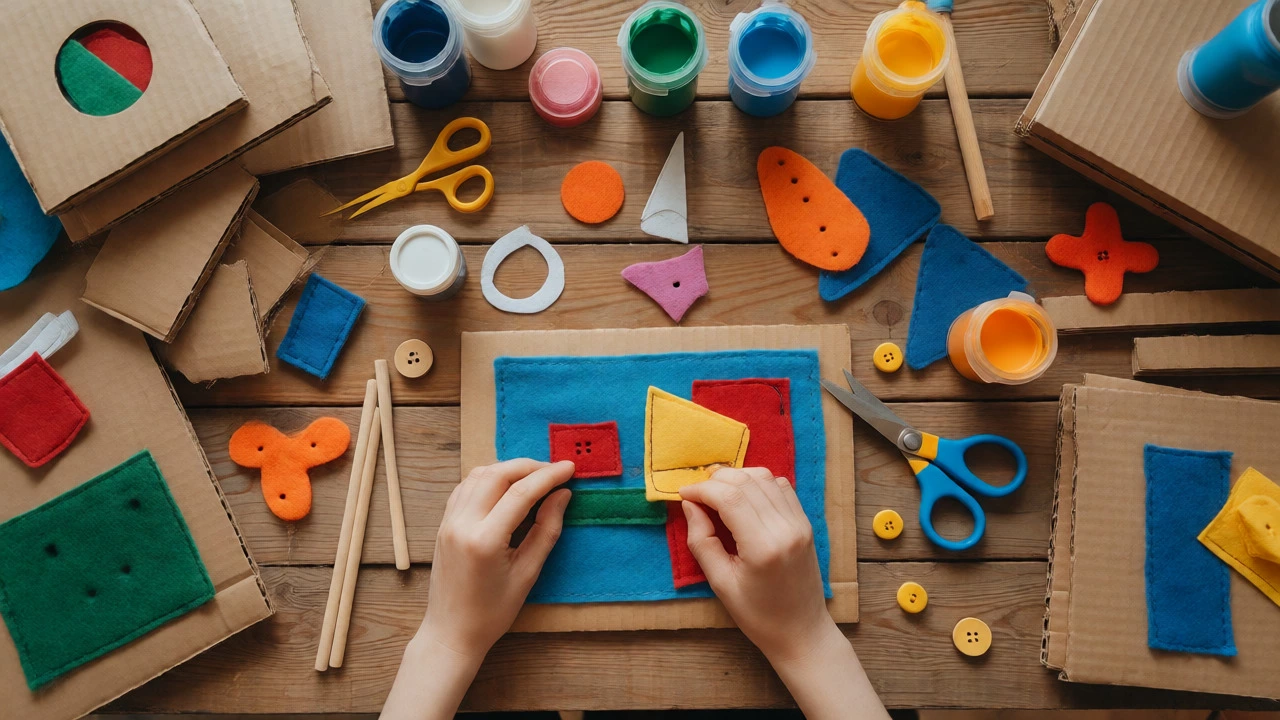
You don’t need CAD software to prototype. Start with cardboard, clay, or even Lego bricks. Build a rough version quickly. Then, hand it to a child. Not your child-someone else’s, if possible. Your bias will blind you to flaws. Watch how they interact with it. Do they grab it eagerly? Do they figure out the mechanic within minutes? Do they throw it after two tries?
Observe their hands. Are they struggling to grip pieces? Is the mechanism jamming? Is the instruction confusing? Take notes. If a 4-year-old spends five minutes trying to open a latch instead of playing with the contents, the latch is too complex. Simplify. Remove unnecessary steps. If they ignore a feature entirely, consider cutting it. Less is often more.
Iterate. Make version two. Test again. Most successful toys go through several rounds of refinement. Don’t fall in love with your first idea. Fall in love with the solution to the child’s problem.
Adding Educational Value Without Boredom
The biggest mistake creators make is disguising homework as play. If a child feels like they’re being tested, they disengage. Instead, embed the lesson naturally. Want to teach counting? Don’t label every block with a number. Let them count because they need ten blocks to bridge a gap. The math becomes a tool to achieve a fun outcome, not the outcome itself.
Storytelling helps too. Frame the activity within a narrative. "Help the bear cross the river using these stones" is more engaging than "Place the stones in order." Context gives meaning to the action. For older kids, introduce challenges or levels. "Can you build a structure that holds three books?" adds stakes and encourages experimentation with physics concepts like load-bearing and stability.
Consider multi-sensory integration. Combine sight, touch, and sound. A musical xylophone teaches pitch and rhythm. A textured board book teaches language and tactile discrimination. Engaging multiple senses strengthens neural pathways and improves retention.
Budget-Friendly Tips for Creators
You can create professional-quality educational toys on a shoestring. Thrift stores are goldmines for wood scraps, old keyboards, and fabric. Hardware stores sell inexpensive dowels, nuts, bolts, and washers that make excellent construction kits. Dollar stores offer bulk supplies like buttons, pom-poms, and popsicle sticks.
Invest in good tools rather than expensive materials. A decent hot glue gun, a utility knife, and a ruler go a long way. Learn basic woodworking techniques-drilling holes, sanding edges, and joining pieces. YouTube tutorials can teach you how to make a simple gear system from cardboard circles and pushpins in under an hour.
Batch production saves time. If you’re making ten identical memory cards, cut all the cardboard at once. Paint all the fronts before painting the backs. Assembly line methods reduce fatigue and improve consistency.
Legal and Safety Considerations
If you plan to sell your toys, safety regulations become stricter. In the United States, you must comply with ASTM F963 standards. This involves third-party testing for lead content, phthalates, and mechanical hazards. You’ll also need a Children’s Product Certificate (CPC). Labeling requirements include age grading, warning labels for choking hazards, and manufacturer information.
Even for personal use, test durability. Can it survive being dropped, chewed, or sat on? Weak joints break easily, creating sharp edges or small fragments. Reinforce stress points with extra glue or screws. Regularly inspect handmade toys for wear and tear.
Final Thoughts on Creativity
Creating educational toys is less about perfection and more about connection. It’s about observing what fascinates a child and giving them a tool to explore that fascination deeper. You might start with a simple sorting game and end up designing a complex robotics kit. Both are valuable. The best educational toys aren’t necessarily the most expensive or technologically advanced. They’re the ones that sit on the shelf, gathering dust, because they’ve already been played with, broken, fixed, and loved.
What are the most common mistakes when making DIY educational toys?
The most common mistake is prioritizing aesthetics over functionality. Creators often spend hours decorating a toy but neglect to test if it actually teaches the intended skill. Another frequent error is ignoring safety standards, particularly regarding small parts for children under three. Always prioritize safety and clear learning objectives over visual appeal.
How do I determine the right age range for my toy?
Observe the child’s current abilities. If they can stack three blocks, a tower-building toy is appropriate. If they struggle with zippers, a zipper-practice board is suitable. Generally, aim for tasks that require slight effort but are achievable with minimal frustration. Consult developmental milestone charts from sources like the CDC or American Academy of Pediatrics for guidance.
Do homemade toys need to be certified?
For personal use or gifts, certification isn’t required, but safety testing is recommended. If you sell your toys commercially, especially in the US, EU, or Canada, you must comply with local safety regulations like ASTM F963 or EN71. This typically requires third-party lab testing and proper labeling, regardless of whether the toy is handmade or mass-produced.
What materials are safest for toddlers?
Natural materials like untreated hardwood, food-grade silicone, and cotton felt are among the safest. Avoid plastics containing BPA or phthalates unless labeled otherwise. Ensure all surfaces are smooth and free of splinters. Non-toxic water-based paints are preferable to oil-based options. Always check for loose parts that could detach during play.
How can I make my toy appealing to both boys and girls?
Focus on universal interests like building, sorting, nature, and animals rather than gendered themes like princesses or trucks. Use neutral colors like green, blue, yellow, and white instead of pink and blue. Design for function and interaction rather than appearance. Open-ended toys tend to attract a wider audience because they allow for diverse play scenarios.