Drying Baby Bottles: Safe Methods and Common Mistakes
When you finish washing and sterilizing drying baby bottles, the final step in keeping infant feeding equipment clean and safe. Also known as baby bottle air-drying, it’s not just about letting water run off—it’s about stopping bacteria before it starts. Many parents think if a bottle’s been sterilized, it’s fine to toss it on the counter or towel-dry it. But that’s where things go wrong. Moisture is the enemy. Left in a damp bottle, even after sterilizing, germs can grow fast—especially in hard-to-reach spots like nipple holes and threaded necks.
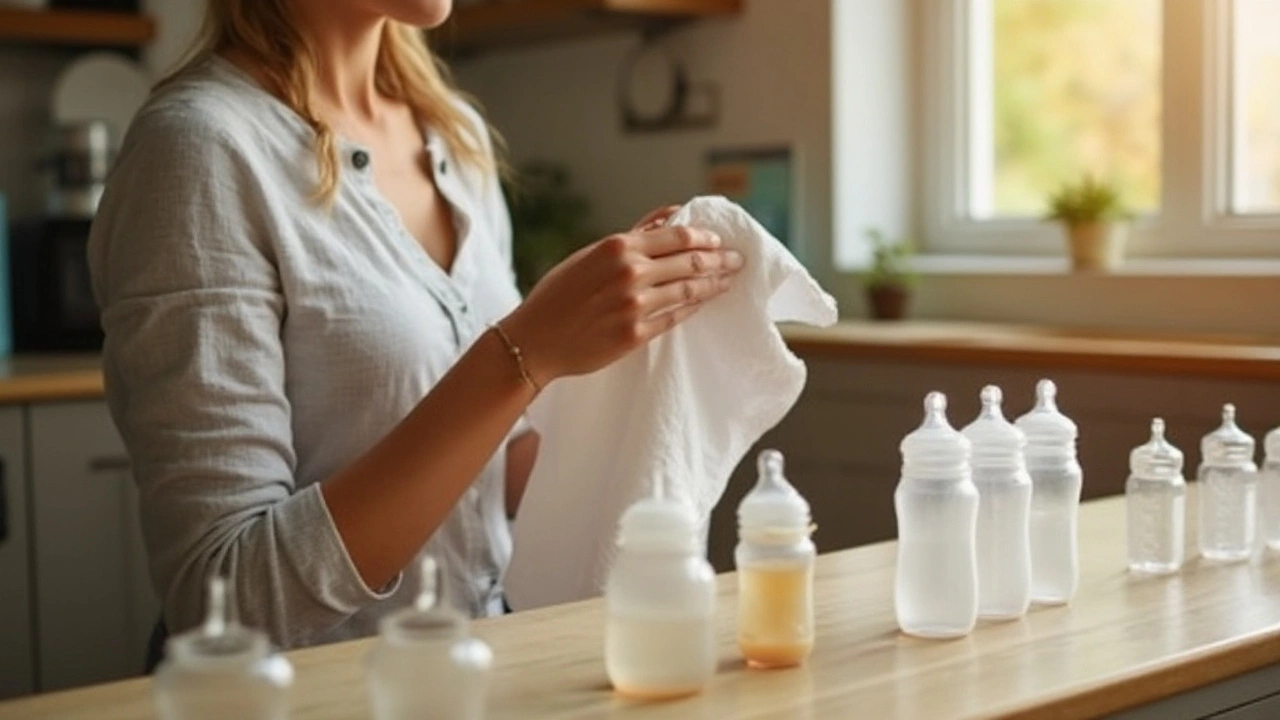
baby bottle drying racks, a simple tool designed to hold bottles upside down so water drains completely. Also called bottle drying stands, they’re not optional—they’re essential for safe feeding. A good rack keeps bottles off surfaces where dust, crumbs, or kitchen germs can land. It also lets air flow through every part of the bottle. If you don’t have one, hang bottles upside down on a clean clothesline or over a clean mug. Never use a regular kitchen towel to wipe them dry. Towels, even clean ones, carry bacteria. Studies show cloth towels can harbor more germs than a toilet seat if not washed daily.
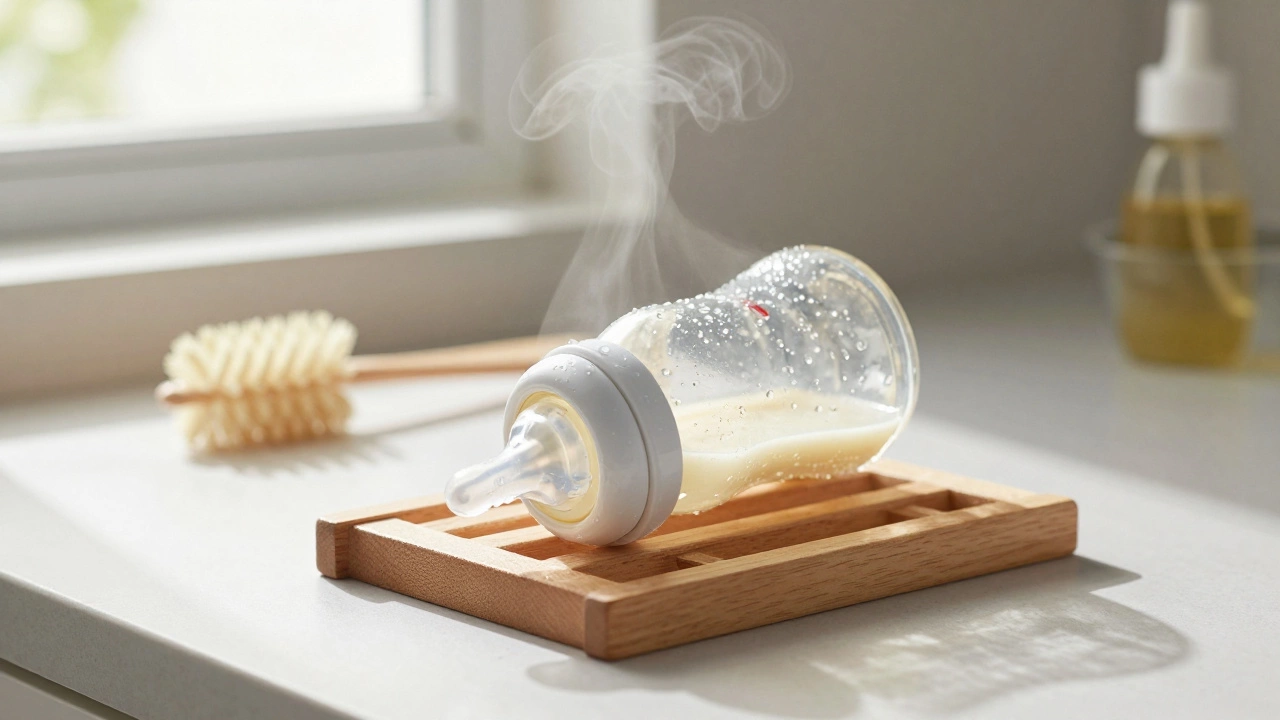
And don’t forget the sterilizing baby bottles, the process of killing harmful microbes before use. Also known as baby bottle sterilization, it’s only half the job. Sterilizing doesn’t mean the bottle stays clean forever. Once you take it out of the sterilizer, it’s exposed again. That’s why drying properly matters just as much as boiling or steaming. If you’re using a microwave sterilizer or electric steam unit, let the bottles cool inside for at least 10 minutes before removing them. Then place them immediately on a clean drying rack. Don’t leave them sitting in the sterilizer for hours—condensation builds up, and that’s a breeding ground.
Some parents try to speed things up by using a hairdryer or oven. Don’t. Heat can warp plastic parts, melt silicone nipples, or crack glass. Even a warm air setting on a hairdryer can damage the bottle’s integrity over time. Stick to room-temperature air drying. It’s slow, but it’s the only method proven to be safe and effective.
If you’re using bottles made of glass or stainless steel, you might think they’re immune to bacteria. They’re not. Glass doesn’t harbor germs the way plastic can, but water trapped in the nipple or ring still can. Stainless steel bottles are great for durability, but their narrow necks make drying harder. Use a long, clean brush to remove any leftover moisture before placing them upside down.
And here’s something most guides don’t say: check the drying rack itself. If it’s sitting on a damp counter, collecting dust, or hasn’t been washed in weeks, it’s doing more harm than good. Wash your rack weekly with hot soapy water. Let it dry completely before putting bottles back on it.
What about bottle liners or disposable inserts? They’re not reusable, so drying isn’t needed—but you still need to store them properly. Keep them sealed in a clean, dry place. Don’t leave them in a humid bathroom or near the sink.
The truth is, drying baby bottles isn’t glamorous. But it’s one of the simplest things you can do to keep your baby healthy. It takes less than a minute per bottle. It doesn’t cost anything if you use a rack you already own. And skipping it? That’s the kind of small habit that leads to upset stomachs, infections, and unnecessary doctor visits.
Below, you’ll find real advice from parents and experts on how to handle everything from bottle materials to drying time, what to avoid, and how to spot when your method isn’t working. These aren’t guesses—they’re tested tips from families who’ve been there.