How to Prevent Gate Crashes: A Safety Guide for Child Safety Gates
Child Safety Gate Risk Calculator
Gate Configuration Details
Recommendations:
Gate crashes are one of the most common household accidents involving toddlers. They happen when a child leans on, jumps against, or climbs over a baby safety gate, causing it to detach from the wall or tip over entirely. This isn't just a scare; it can lead to serious head injuries, falls down stairs, or entrapment. If you have a curious toddler who treats furniture like playground equipment, understanding why these failures occur is your first step toward prevention.
The good news? Most gate crashes are preventable with the right setup and maintenance. It’s not always about buying the most expensive model-it’s about matching the gate type to the location and ensuring it’s installed correctly. Let’s break down exactly how to stop these incidents before they start.
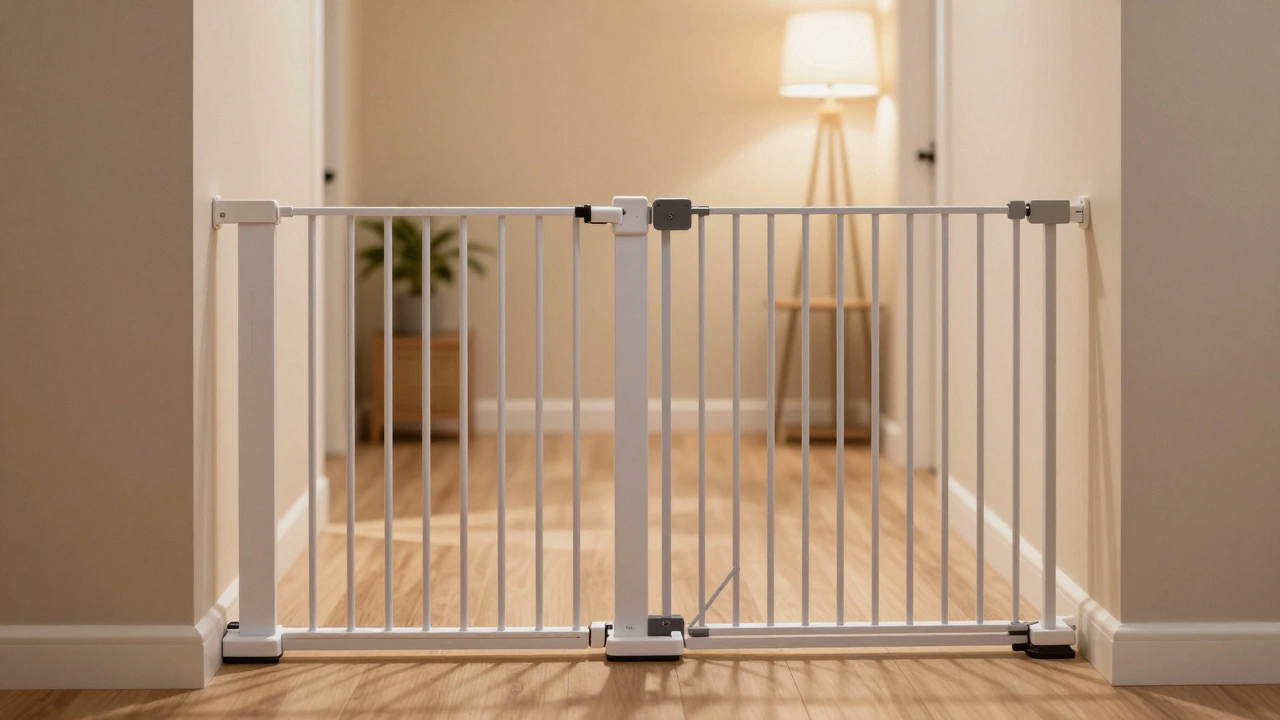
Know Your Gate Type: Pressure vs. Hardware Mounted
The single biggest factor in preventing a gate crash is choosing the correct mounting method for the specific opening. There are two main types of child safety gates: pressure-mounted and hardware-mounted. Using the wrong one in the wrong place is a recipe for disaster.
Pressure-mounted gates rely on tension between the floor and ceiling (or two walls) to stay in place. They are convenient because they don’t require drilling, but they have significant limitations. They should never be used at the top of stairs. The force of a falling child can easily overcome the friction holding the gate up. These gates are best suited for doorways at the bottom of stairs, hallways, or keeping pets out of certain rooms where the risk of a fall is minimal.
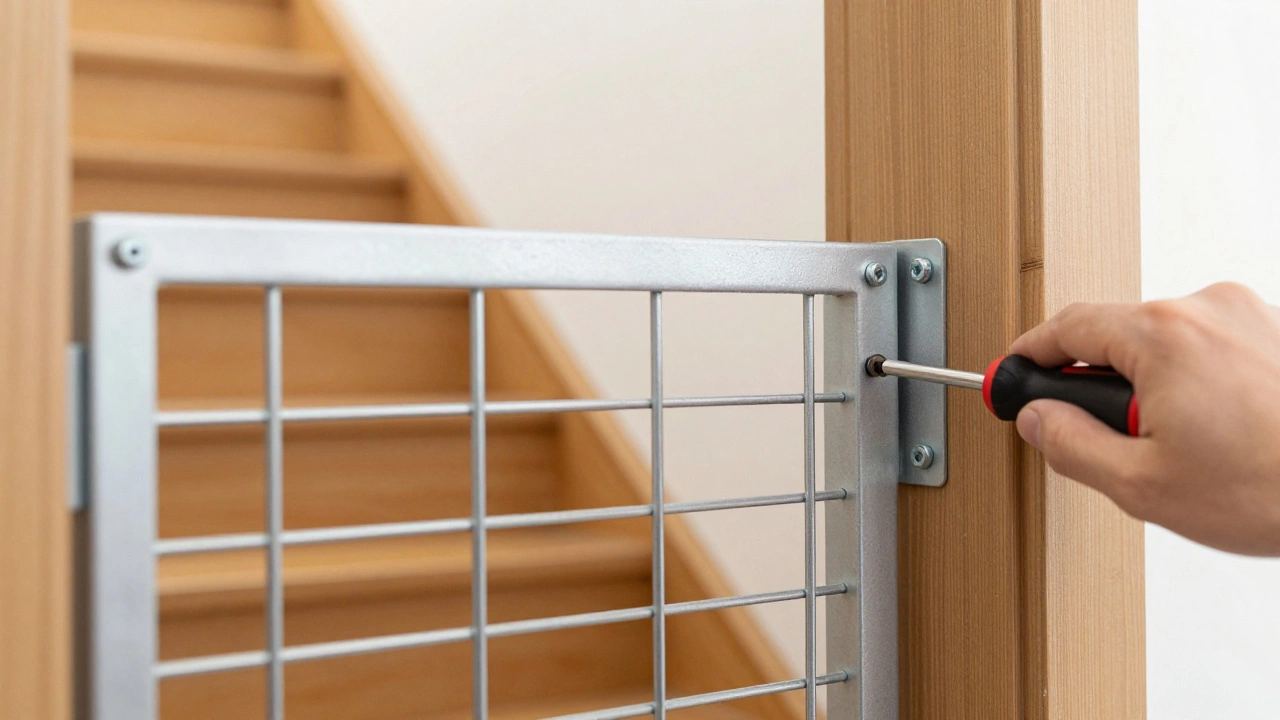
Hardware-mounted gates, on the other hand, are screwed directly into the wall studs or door frame. This creates a rigid anchor that can withstand significant impact. You must use hardware-mounted gates at the top of any staircase. They also perform better in wide openings or uneven floors where pressure mounts might slip. While installation takes more effort, the security they provide is unmatched.
Installation Mistakes That Lead to Failures
Even high-quality gates fail if they aren’t installed properly. Here are the most common errors parents make:
- Inadequate tension: For pressure-mounted gates, you need to tighten the screw mechanism until the gate feels immovable. If you can wiggle it side-to-side with moderate force, it’s too loose. Re-tighten it after every few days, as the tension can loosen over time.
- Ignoring stud placement: When installing a hardware-mounted gate, ensure the screws go into wall studs, not just drywall. Drywall anchors cannot hold the weight of a jumping toddler. Use a stud finder to locate the solid wood framing behind your walls.
- Gaps at the sides: Leave no more than a half-inch gap between the gate and the wall. Larger gaps allow children to push through or get their heads stuck. Use adjustable width features or spacers if needed.
- Skip the level check: An unlevel gate puts uneven stress on the hinges and latches, making them more likely to break under pressure.
Maintaining Gate Integrity Over Time
A gate that was safe last month might not be safe today. Regular maintenance is crucial for long-term safety.
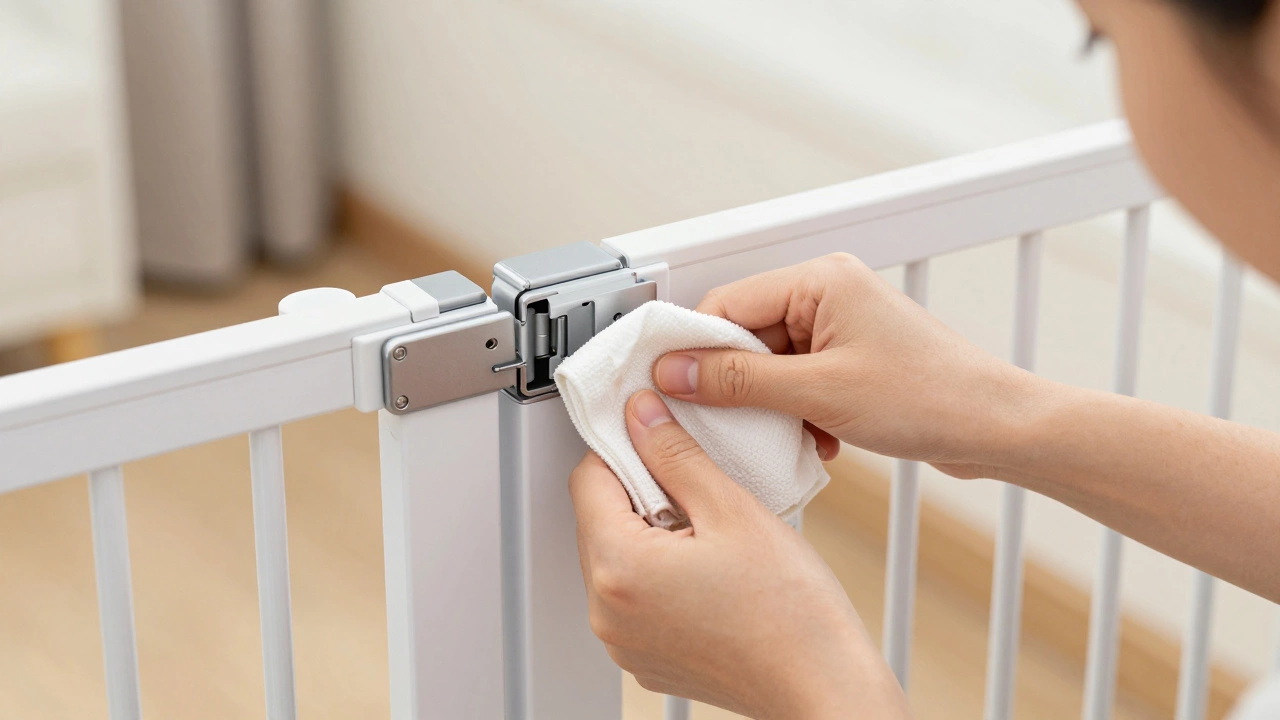
Check the latch mechanism weekly. Dirt, pet hair, or sticky fingers can interfere with the locking pins. Clean the latch area with a damp cloth and test the click sound-it should be sharp and definitive. If the latch feels sluggish or doesn’t fully engage, replace the gate immediately. Also, inspect the plastic components for cracks, especially around the hinge points. Stress fractures can develop over time, particularly in cheaper models.
If you move homes or rearrange furniture, never assume a pressure-mounted gate will work in a new spot without re-testing. Different flooring materials (tile vs. carpet) affect friction differently. Always pull hard on the gate from multiple angles to simulate a child’s force before leaving it unsupervised.
Choosing the Right Gate for Your Home
Not all gates are created equal. When shopping, look for certifications from recognized safety organizations like ASTM International or JPMA (Juvenile Products Manufacturers Association). These standards ensure the gate has been tested for strength, latch reliability, and choke hazards.
Consider the width of your opening. Standard gates cover widths up to 36 inches, while extra-wide gates go up to 70 inches. Wider spans require additional support bars to prevent bowing in the middle, which can create a climbing hazard. Avoid gates with decorative cutouts or horizontal bars that could serve as footholds for climbers.
| Feature | Pressure-Mounted | Hardware-Mounted |
|---|---|---|
| Best Location | Bottom of stairs, doorways | Top of stairs, wide openings |
| Installation Difficulty | Easy (no tools) | Moderate (drill required) |
| Security Level | Moderate | High |
| Wall Damage | None | Small screw holes |
| Climb Resistance | Low | Medium to High |
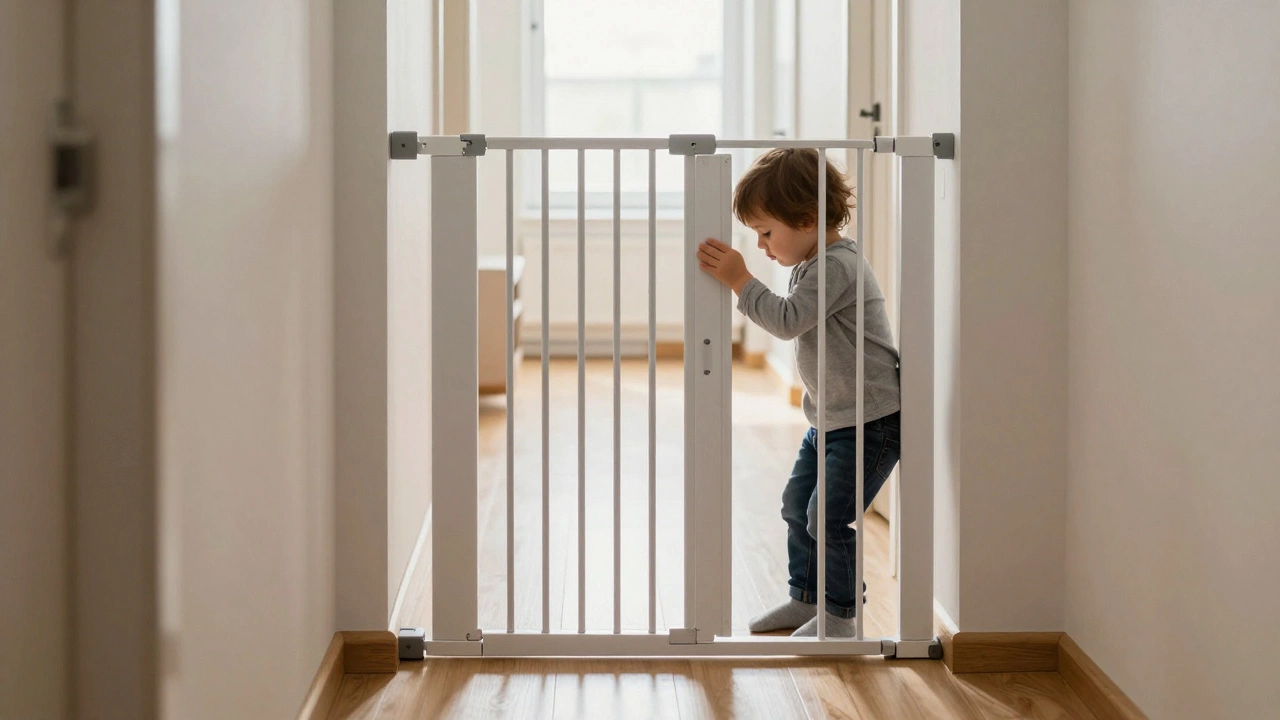
Behavioral Strategies to Reduce Risk
Prevention isn’t just about hardware; it’s also about teaching your child. As soon as your toddler starts walking near gates, show them how the latch works-but only if it’s a dual-action lock that requires two steps to open. This teaches them that gates are barriers, not toys.
Never leave a child alone with a gate that has an easy-release latch. Younger toddlers may accidentally trigger the release while leaning on it. Supervise interactions with gates until your child consistently understands they are not meant to be pushed or climbed.
If your child shows signs of trying to climb over the gate, consider switching to a taller model or adding a mesh screen that eliminates footholds. Some advanced gates feature inward-swinging designs that make climbing nearly impossible.
When to Replace Your Gate
There’s no expiration date on safety gates, but there are clear signs it’s time for a replacement. If the latch no longer clicks securely, if the frame bends under normal pressure, or if the mounting brackets show wear, discard the gate. Don’t attempt repairs with tape or glue-these solutions fail unpredictably.
Also, replace gates if your child outgrows the height limitation. Most gates are designed for children up to 3 years old or 35 pounds. Once your toddler can stand on tiptoes and reach the top rail, the gate becomes a climbing invitation rather than a barrier.
Can I use a pressure-mounted gate at the top of stairs?
No, never use a pressure-mounted gate at the top of stairs. The force of a falling child can dislodge the gate, leading to severe injury. Only use hardware-mounted gates secured to wall studs at the top of staircases.
How often should I check my child safety gate?
Check your gate weekly for loose screws, worn latches, and proper tension. Pull firmly on the gate from different angles to ensure it remains secure. Re-tighten pressure-mounted gates every few days as tension naturally decreases.
What should I do if my gate keeps coming loose?
If a pressure-mounted gate won’t stay tight, the surface may be too smooth or uneven. Try using rubber pads under the feet for better grip. If it still fails, switch to a hardware-mounted gate for that location.
Are mesh gates safer than bar gates?
Mesh gates generally offer less opportunity for climbing since they lack horizontal bars. However, both types are safe if installed correctly. Choose based on your child’s climbing tendencies and the specific location needs.
How do I know if my gate meets safety standards?
Look for certification labels from ASTM International or JPMA on the packaging or product itself. These indicate the gate has passed rigorous testing for strength, latch reliability, and absence of choking hazards.