What Is an Example of a Sensory Kit? Real Examples for Toddlers and Kids
Sensory Kit Age Guide
Your Child's Age
Sensory Kit Recommendations
Recommended Materials
Ever watched a toddler spend 20 minutes just pouring rice from one cup to another and wondered if it’s just play-or something more? That’s the quiet power of a sensory kit. These aren’t flashy gadgets or expensive apps. They’re simple, hands-on collections of materials designed to help kids explore textures, sounds, smells, and movements. And they’re one of the most effective tools for early development, especially for kids who learn by touching, shaking, digging, or squishing.
What Exactly Is a Sensory Kit?
A sensory kit is a curated set of safe, non-toxic items that stimulate one or more of the five senses: touch, sight, sound, smell, and sometimes taste. Unlike regular toys that have a single function-like a ball that bounces or a block that stacks-sensory kits invite open-ended exploration. There’s no right way to use them. A child might bury their hands in dried beans, listen to crinkly paper, smell cinnamon sticks, or watch glitter float in water. The goal isn’t to complete a task. It’s to engage, observe, and make connections.
These kits are widely used in early childhood classrooms, occupational therapy sessions, and at home. Parents of children with autism, ADHD, or developmental delays often turn to sensory kits because they help regulate emotions and improve focus. But even neurotypical kids benefit. The brain learns best when multiple senses are active at once. A sensory kit doesn’t just entertain-it rewires how a child processes the world.
Real Example: A Basic Sensory Bin Kit
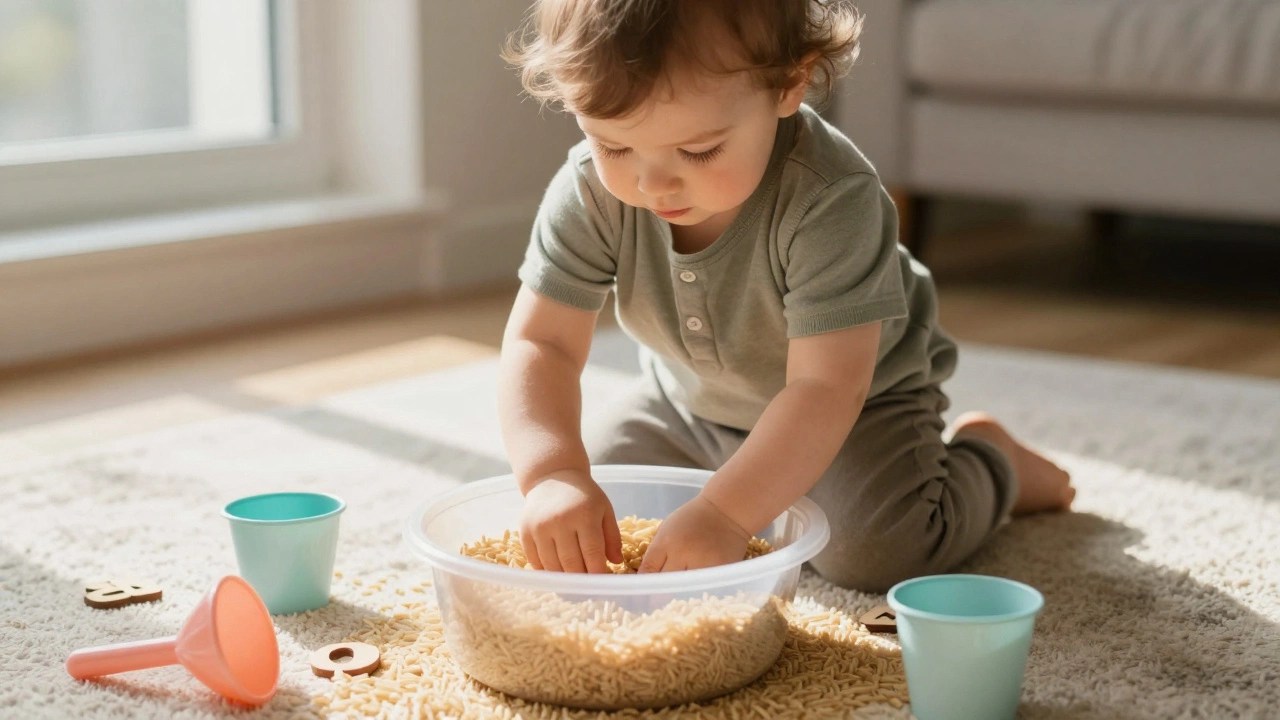
Here’s a common, easy-to-build sensory kit you can put together in under 10 minutes:
- Base material: Dry rice or lentils (about 4 cups)
- Tools: Small plastic cups, a spoon, a funnel, tongs
- Hidden items: Mini plastic animals, smooth stones, wooden letters
- Optional add-ons: A few drops of vanilla extract for scent, food coloring tinted rice for visual interest
Place the rice in a shallow plastic bin with high sides to contain the mess. Let the child dig, scoop, pour, and search. They might not say much, but their brain is busy. They’re learning about volume, cause and effect, fine motor control, and even early literacy when they pull out a letter and say its name. This isn’t a worksheet. It’s play that builds neural pathways.
Why This Works for Different Ages
Sensory kits aren’t one-size-fits-all. They adapt as kids grow.
For babies (6-18 months): Think soft, safe, and simple. A fabric sensory book with different textures-fuzzy, smooth, bumpy-attached to a ring. A silicone teether filled with water and food-safe glitter. A small bell in a soft pouch they can shake. These kits help babies connect actions (shaking) with outcomes (sound).
For toddlers (18-36 months): This is when curiosity explodes. A kit with kinetic sand, small molds, and a spray bottle lets them shape, squish, and mist. Add a few scented spices like cloves or dried lavender. Let them smell and guess. These experiences build vocabulary and memory.
For preschoolers (3-5 years): Add structure without rules. A water sensory table with floating objects, droppers, and measuring cups teaches math concepts naturally. A “sensory letter hunt” where they find foam letters hidden in oatmeal and sort them by sound. The kit becomes a tool for early reading and problem-solving.
Other Common Sensory Kit Examples
Here are five more real-world examples you can try at home:
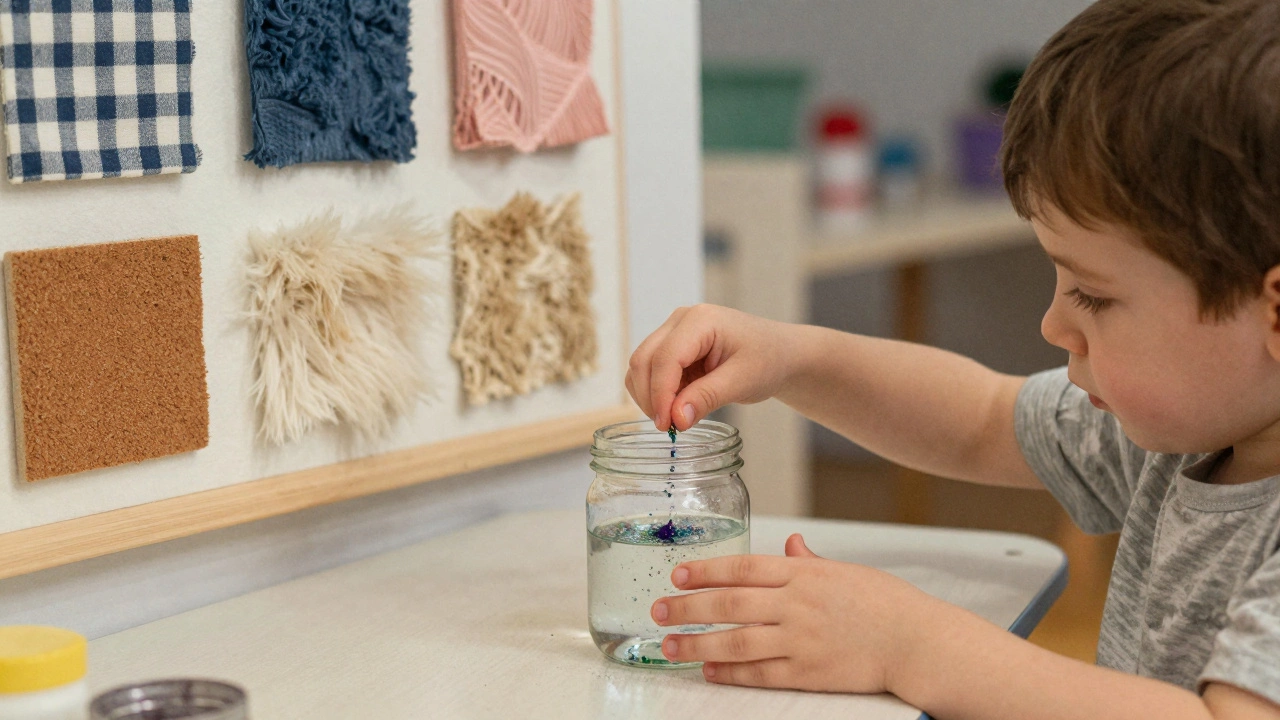
- Texture Wall Kit: Mount pieces of fabric, sandpaper, faux fur, bubble wrap, and cork on a board. Let kids run their fingers over each and describe how it feels. This builds tactile discrimination and language.
- Sound Matching Kit: Fill small, sealed containers with different items: rice, beans, pennies, beads. Shake them and let kids match pairs by sound alone. This sharpens auditory processing.
- Smell Identification Kit: Place cotton balls soaked in vanilla, lemon, peppermint, coffee, and cinnamon in tiny jars with lids. Blindfold the child and ask them to guess the scent. This develops memory and olfactory awareness.
- Light and Shadow Kit: Use a flashlight, colored cellophane, and cut-out shapes. Let kids project shadows on a wall. This introduces physics and creativity in a quiet, calming way.
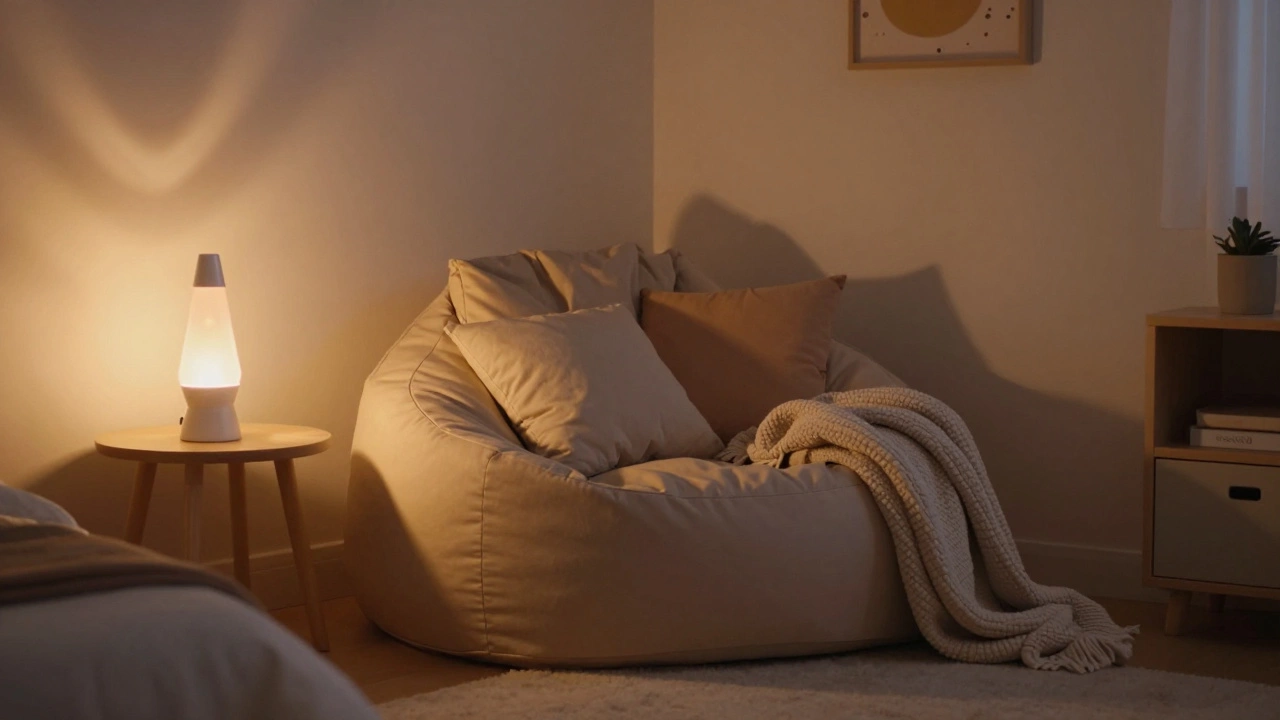
- Calming Sensory Jar: Fill a clear bottle with water, glitter glue, and fine glitter. Seal it tight. When a child is overwhelmed, they shake it and watch the glitter settle. It’s a visual breathing exercise.
What to Avoid
Not every sensory item is safe. Avoid anything small enough to swallow if the child is under three. That includes marbles, beads, or buttons unless they’re securely sealed inside a transparent container. Also skip anything with strong chemicals, essential oils not diluted properly, or food that could spoil quickly (like yogurt or fruit) unless you’re supervising closely.
Another mistake? Overloading the kit. Too many items overwhelm instead of engage. Start with three to five materials. Let the child lead. If they’re bored, swap one item out. Sensory play thrives on simplicity, not complexity.
How to Make a Sensory Kit on a Budget
You don’t need to buy a $50 sensory kit online. Most materials are already in your home:
- Use old cereal boxes as bins
- Repurpose empty spice jars for scent containers
- Collect clean bottle caps, buttons, or pasta shapes for texture
- Use food coloring and uncooked pasta or rice for colored sensory bases
- Check thrift stores for cheap plastic containers and utensils
One parent in Vancouver told me she uses coffee grounds from her morning brew-dried and stored in a jar-as a rich, earthy sensory base. Her 2-year-old loves digging through it like dirt. It’s free, smells good, and teaches about natural materials.
Why Schools and Therapists Swear by Them
Occupational therapists use sensory kits to help children with sensory processing disorder. A child who’s oversensitive to touch might start by just touching a soft cloth, then a sponge, then sand. Slowly, their nervous system learns to tolerate new sensations.
Teachers use them to help kids transition between activities. After lunch, a quiet sensory bin helps children reset before circle time. In classrooms with 25 kids, one sensory bin can calm five who are overstimulated without pulling anyone out of the room.
And research backs this up. A 2023 study from the University of British Columbia found that children who engaged in daily sensory play for six weeks showed measurable improvements in attention span and emotional regulation. The gains were strongest in kids who had limited access to outdoor play or structured activities.

How to Introduce a Sensory Kit Without Overwhelming a Child
Don’t just dump a bin on the floor and say, “Go play.” That can feel chaotic. Instead:
- Present it calmly: “I made something for you to explore. See what you find.”
- Let them touch it first with one finger before diving in.
- Join them sometimes, but don’t direct. Say, “I wonder what this feels like,” instead of “Do this.”
- Set a timer for 10-15 minutes. Too long can lead to overstimulation.
- Always have a cleanup plan. A large towel or a tray makes cleanup easier and teaches responsibility.
Some kids need time to warm up. One child I knew refused to touch a sensory bin for two weeks. Then, one day, he picked up a single marble and rolled it between his fingers. That was his breakthrough. Sensory play isn’t about speed. It’s about trust.
When to Seek Help
If your child consistently avoids all sensory experiences-refusing to touch mud, avoiding loud noises, panicking at the texture of clothing-it might be more than preference. Talk to a pediatric occupational therapist. Sensory kits can help, but they’re not a substitute for professional support if there’s a deeper issue.
On the flip side, if your child can’t stop touching everything, chewing on clothes, or seeking out loud noises, sensory kits can help channel that energy safely. They give the body what it’s asking for-without the chaos.
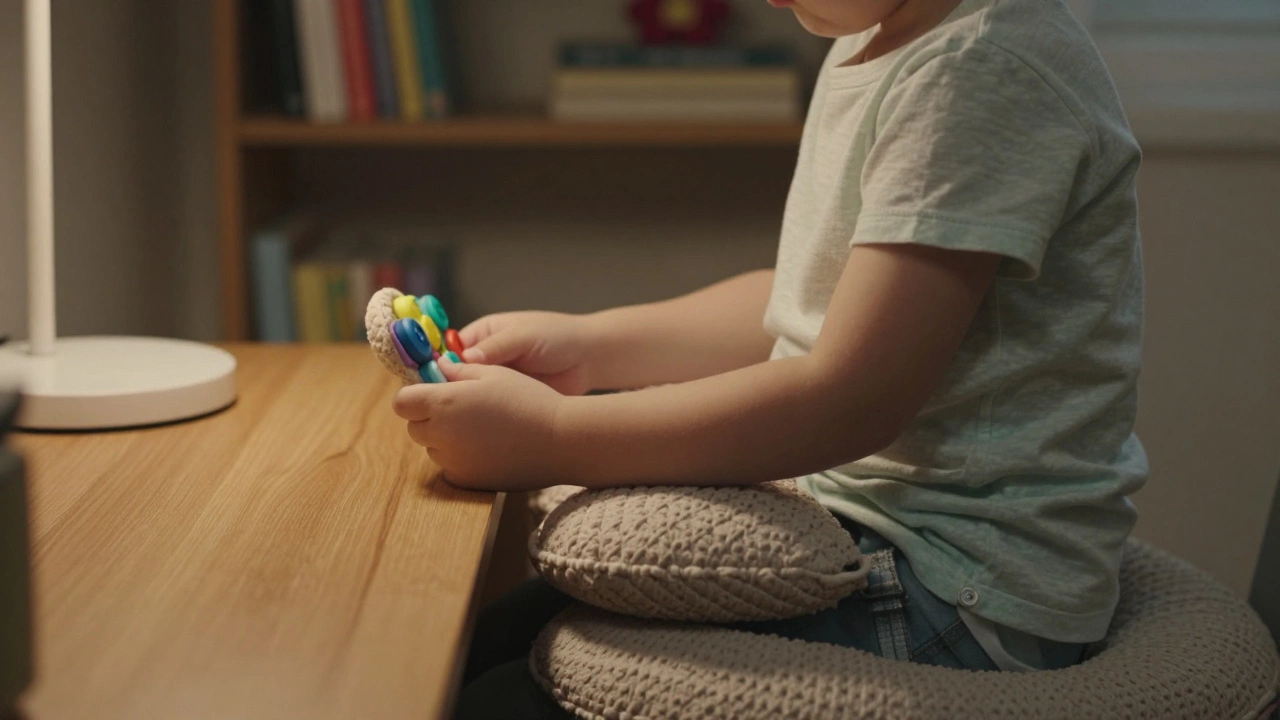
Final Thought: Sensory Kits Are Not Just for Kids
Adults use sensory tools too-fidget spinners, stress balls, weighted blankets. The difference? Kids don’t know they’re “learning.” They just know it feels good. And that’s the magic. A sensory kit turns ordinary moments into quiet, powerful learning experiences. You don’t need fancy equipment. You just need curiosity, safety, and a little patience.
What age is best for a sensory kit?
Sensory kits can be adapted for babies as young as 6 months and up through age 8. For babies, focus on soft textures and safe sounds. Toddlers enjoy digging and pouring. Preschoolers benefit from kits that include letters, numbers, or simple sorting tasks. Always match the complexity to the child’s developmental stage and safety needs.
Can I make a sensory kit with food?
Yes, but only under close supervision. Cooked pasta, rice, beans, oatmeal, and yogurt are common. Avoid raw eggs, dairy that spoils quickly, or anything with allergens if the child has sensitivities. Always wash hands after playing. Food-based kits are great for short-term use but should be discarded after one or two sessions to prevent mold or bugs.
How often should I change the sensory kit?
Change it every 1-2 weeks, or sooner if your child loses interest. Kids get bored quickly if the materials stay the same. Swap out one or two items to keep it fresh. You don’t need to rebuild the whole kit-just rotate materials. A new texture or scent can reignite curiosity.
Are sensory kits only for children with special needs?
No. While sensory kits are often used in therapy, they benefit every child. All kids learn through their senses. A child who’s energetic might use a sensory bin to calm down. A quiet child might use it to build confidence. It’s not about diagnosis-it’s about how the brain learns.
Where should I store sensory kits?
Store them in clear, labeled bins on low shelves so kids can access them independently. Use plastic storage bins with tight lids to keep out dust and pests. Keep drying agents like silica packets inside if you use dry materials like rice or beans. Label each bin with a photo so your child knows what’s inside without opening it.
If you’re looking for a simple way to support your child’s development without screens or expensive toys, start with a sensory kit. It’s not magic. But it’s close.