When to Stop Sanitizing Baby Bottles: A Practical Guide
Baby Bottle Sterilization Assessment Tool
Answer the questions below to get a personalized recommendation on whether to continue sterilizing or switch to thorough washing.
You’ve spent months boiling water, running the dishwasher on its hottest cycle, or microwaving steam bags. Your kitchen counter is likely dominated by drying racks and sterilizers. Then one day, you look at your toddler’s messy face after a juice box and wonder: at what age do you stop sanitizing baby bottles?
The short answer? There is no single magic birthday. But there is a clear developmental milestone that tells you it’s safe to switch from "sterile" to just "clean." For most healthy babies, this transition happens around six months of age. However, if your child was born premature, has a compromised immune system, or attends daycare early, the timeline shifts. Let’s break down exactly when-and how-to make this change without giving yourself unnecessary anxiety.
The Six-Month Rule of Thumb
Health organizations like the American Academy of Pediatrics (AAP) and the CDC generally agree that rigorous sterilization is critical for infants under six months. Why six months? That’s roughly when two major things happen in a baby’s biology.
First, their gut microbiome starts to mature. Newborns have very little protection against bacteria in their digestive tracts. By six months, they’re often eating solid foods, which introduces more diverse bacteria into their system anyway. Second, many babies start getting their first teeth. While teething itself doesn’t require sterile bottles, the introduction of solids means the mouth is encountering more environmental microbes than ever before. At this stage, washing with hot soapy water becomes sufficient for most healthy children.
If your baby is exclusively breastfed or formula-fed and hasn’t started solids yet, sticking with sterilization until six months is the safest bet. If they are already eating purees and drinking from a sippy cup, you might feel comfortable transitioning earlier, around four to five months, provided you wash items thoroughly immediately after use.
Why Sterilization Matters Early On
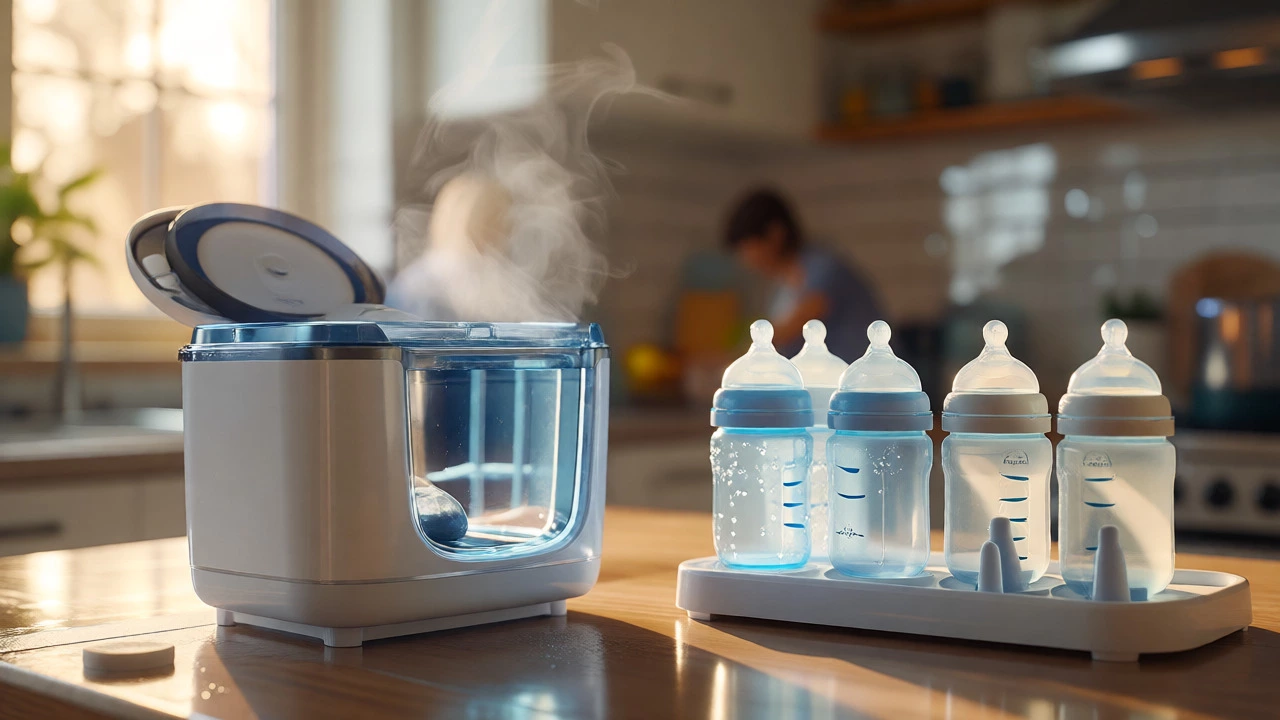
Baby Bottle Sterilization is the process of eliminating all microorganisms, including bacteria, viruses, and fungi, from feeding equipment. Unlike regular cleaning, which removes visible dirt and some germs, sterilization aims for total microbial elimination.
Newborns have immature immune systems. They lack the antibodies that older children and adults have built up through exposure to the environment. This makes them highly susceptible to infections like gastroenteritis, which can cause severe dehydration quickly in small bodies. Common culprits include Cronobacter sakazakii, a bacterium found in dry powdered infant formula, and Salmonella.
Even if a bottle looks clean, invisible biofilms can form inside nipples and valves. These slimy layers harbor bacteria that soap alone might not fully dislodge if the water isn’t hot enough or the scrubbing isn’t thorough. Sterilization kills these hidden threats, providing a safety net during the most vulnerable weeks of life.
Risk Factors That Extend the Timeline
Not every baby follows the standard six-month rule. You should continue sterilizing longer if any of the following apply:
- Prematurity: Babies born before 37 weeks have even less developed immune defenses. Pediatricians often recommend sterilizing until corrected age six months.
- Immune Compromise: Children undergoing chemotherapy, taking immunosuppressants, or living with HIV need stricter hygiene protocols.
- Frequent Illness: If your baby gets ear infections, thrush, or stomach bugs often, keeping things sterile reduces reinfection risks.
- Daycare Attendance: Daycares are germ factories. If your child brings home cups and bottles from school daily, sterilizing at home adds an extra layer of defense against shared pathogens.
In these cases, ask your pediatrician for specific guidance. They might suggest continuing sterilization until nine or twelve months, or switching to a high-temperature dishwasher cycle rather than chemical sterilants.
How to Transition Safely
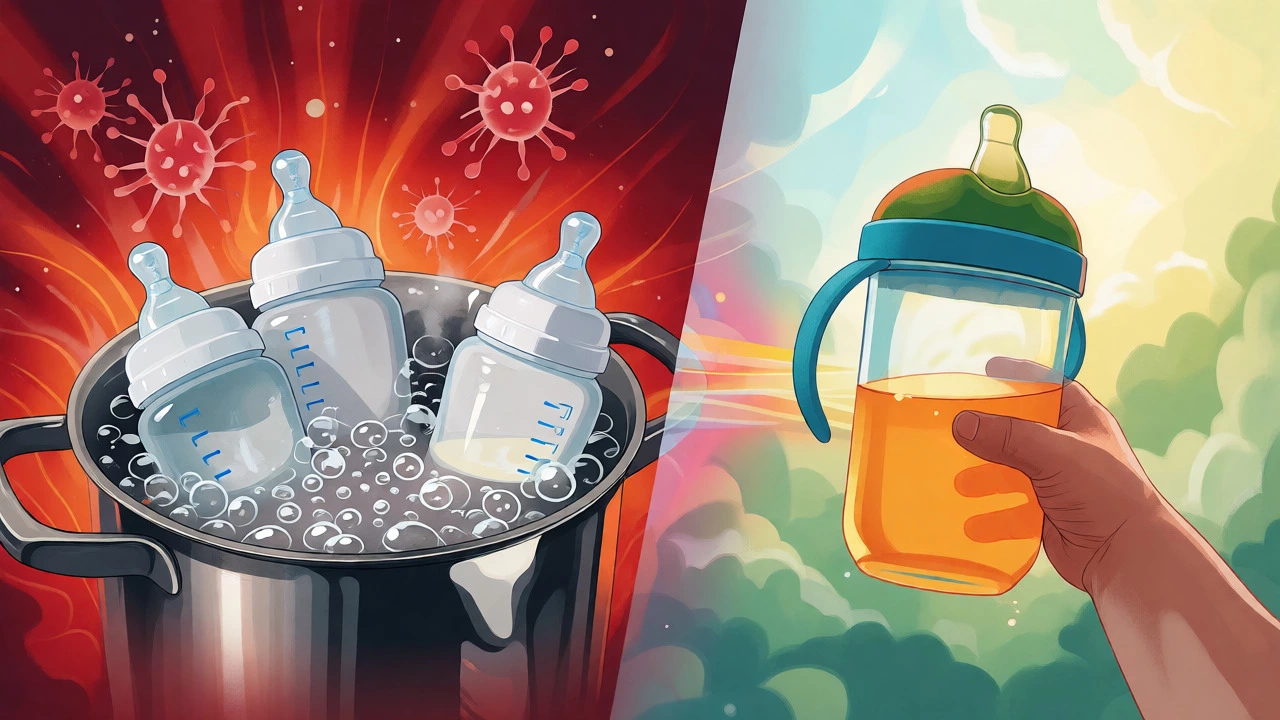
You don’t have to flip a switch overnight. The goal is to move from "sterile" to "hygienically clean." Here’s how to do it effectively:
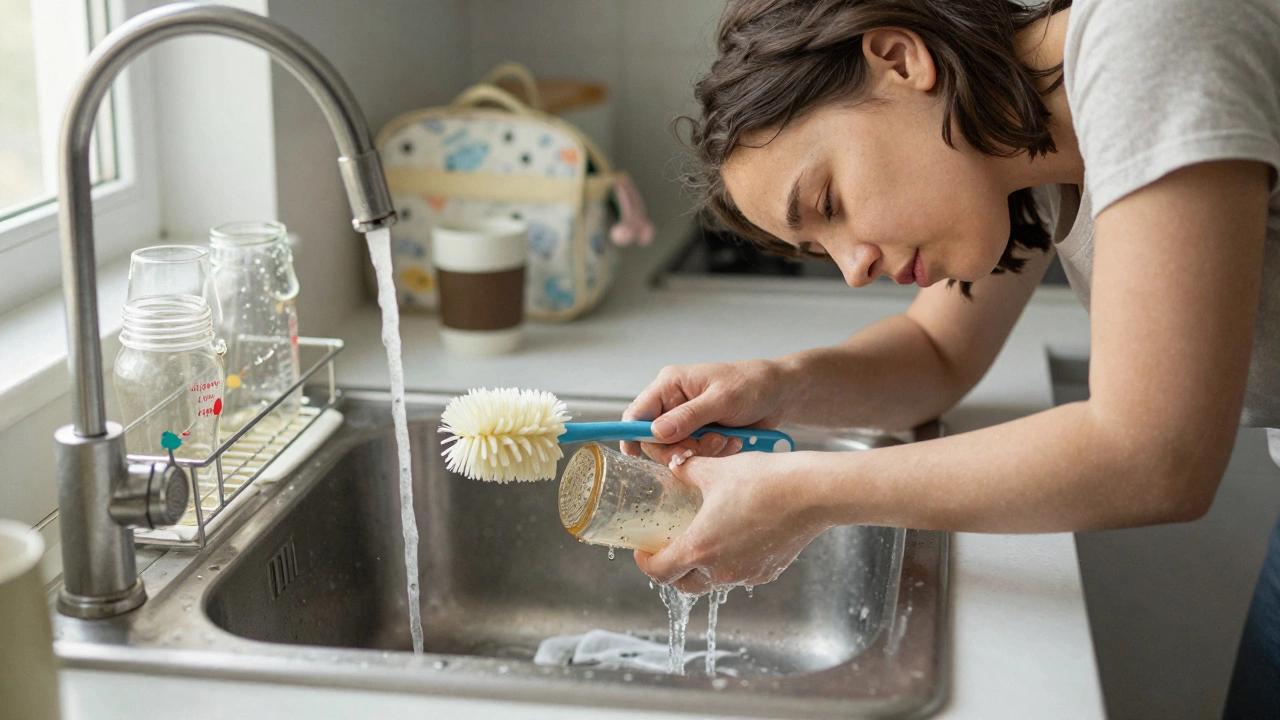
- Master the Wash: Before dropping sterilization, ensure your washing routine is bulletproof. Use hot water (at least 60°C or 140°F) and good dish soap. Scrub every part of the bottle, nipple, and valve with a dedicated brush. Rinse thoroughly to remove soap residue.
- Use the Dishwasher Correctly: If you have a modern dishwasher, place bottles on the top rack. Use a sanitize cycle if available. Ensure the final rinse temperature exceeds 70°C (158°F), which kills most common pathogens.
- Air Dry Completely: Bacteria love moisture. Never store wet bottles. Air-dry them on a clean rack until completely dry before reassembling. Storing damp bottles creates a breeding ground for mold and yeast.
- Inspect Regularly: Check nipples and seals for cracks or tears. Damaged plastic harbors bacteria that washing can’t reach. Replace worn parts immediately.
Once you stop sterilizing, vigilance in washing becomes non-negotiable. Leaving a used bottle sitting in the sink for hours is now a risk factor. Wash it right away.
Comparison: Sterilizing vs. Washing
Understanding the difference helps you decide where you stand. Here’s a quick breakdown:
| Feature | Sterilization | Standard Washing |
|---|---|---|
| Goal | Kill all microorganisms | Remove dirt and reduce germs |
| Best For | Infants < 6 months, immunocompromised kids | Healthy infants > 6 months, toddlers |
| Methods | Boiling, steam, UV light, cold water tablets | Hot soapy water, dishwasher sanitize cycle |
| Time Commitment | High (setup, run time, cooling) | Low (quick hand wash or auto cycle) |
| Cost | Higher (equipment, electricity, tablets) | Lower (soap, water) |
Common Mistakes When Stopping Sterilization
Parents often make errors during this transition that lead to unexpected illnesses. Avoid these pitfalls:
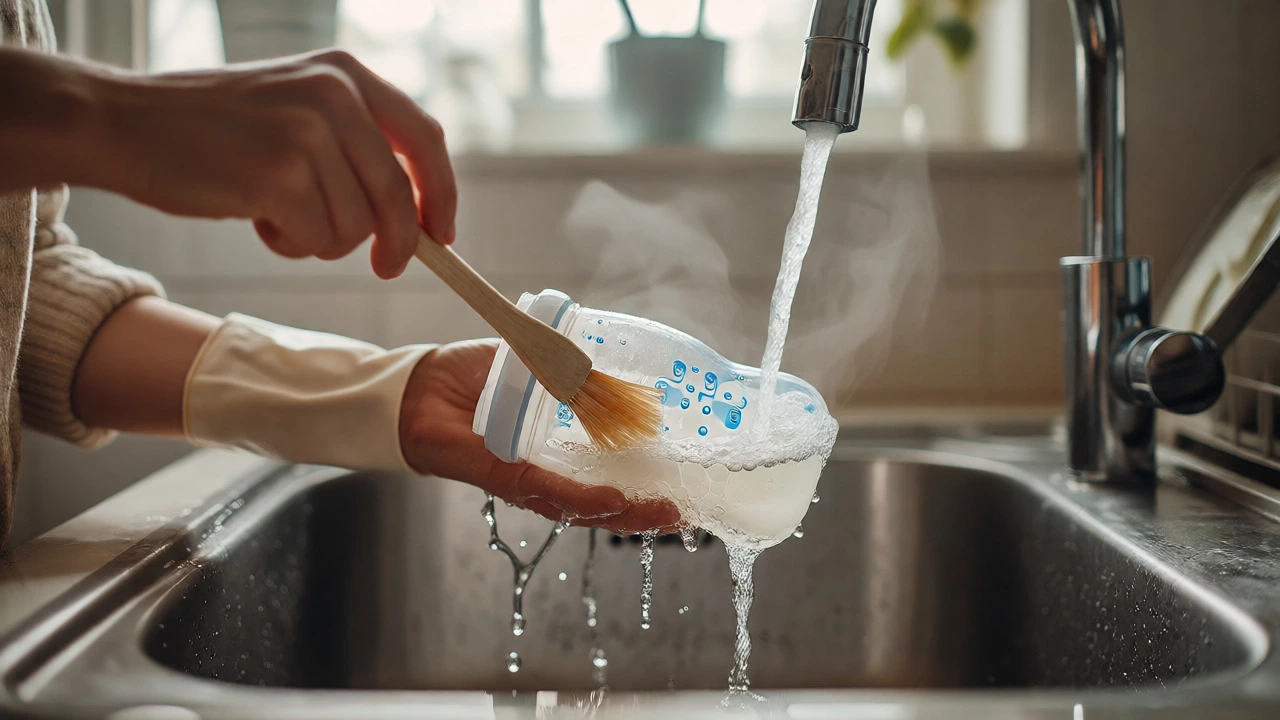
Using Cold Water: Hot water is essential for breaking down milk fats and killing surface bacteria. Cold water spreads grease and leaves residues behind.
Ignoring Nipple Holes: Milk residue gets trapped inside tiny nipple holes. Use a thin brush or squeeze warm soapy water through the hole repeatedly. If you can’t clean it, replace the nipple.
Storing Wet Items: Putting a damp bottle back into a bag or cabinet invites mold growth. Always ensure items are bone-dry before storage.
Assuming "Clean" Means "Safe": Just because a bottle smells fine doesn’t mean it’s free of bacteria. Visual inspection isn’t enough; mechanical scrubbing is required.
What About Sippy Cups and Straw Cups?
As your baby transitions to cups, the same rules apply. Once they hit the six-month mark and are eating solids, you can treat sippy cups like regular dishes. However, straw cups are notoriously hard to clean. The silicone straws often develop black mold spots inside if not dried properly. Consider using open-top cups or straw-free options if you find cleaning too difficult. Many parents skip the straw phase entirely for easier hygiene management.
Final Thoughts on Peace of Mind
Stopping sterilization is a rite of passage. It signals that your child is growing stronger and more resilient. Don’t let perfectionism stress you out. If you accidentally forget to boil a bottle once, the world won’t end. Focus on consistent, thorough washing instead. Trust your pediatrician’s advice, watch your child’s health cues, and enjoy the freedom of fewer kitchen chores.
Do I need to sterilize new baby bottles before first use?
Yes. Manufacturers recommend washing new bottles in hot soapy water and then sterilizing them before the first feed. This removes manufacturing residues and ensures they are completely free of contaminants.
Can I use bleach to sanitize baby bottles?
Yes, but you must dilute it correctly. Mix one teaspoon of unscented household bleach per gallon of cool water. Soak washed bottles for two minutes, then drain and air dry. Do not rinse with tap water afterward, as this may reintroduce bacteria.
Is boiling better than steam sterilizing?
Both are effective if done correctly. Boiling requires submerging items for at least five minutes and can degrade certain plastics over time. Steam sterilizers are faster (usually 5-10 minutes) and gentler on materials, making them more convenient for frequent use.
What if my baby chews on the bottle nipple?
Chewing damages the silicone or latex, creating cracks where bacteria hide. Inspect nipples frequently for wear. If you notice tears or excessive stretching, replace them immediately regardless of age. Damaged nipples cannot be effectively cleaned.
Does formula type affect sterilization needs?
Powdered formula carries a higher risk of bacterial contamination (like Cronobacter) than ready-to-feed liquid formula. If using powder, strict sterilization of preparation surfaces and bottles is crucial until six months. Liquid formula is sterile upon opening, reducing the immediate risk slightly.